Học trực tuyến
Ứng dụng eLearning cho phép bạn dễ dàng tải lên nội dung, xác định các mục tiêu học tập, quản lý người tham dự, đánh giá tiến trình của sinh viên và thậm chí thiết lập phần thưởng. Thu hút người tham gia vào một trải nghiệm học tập có ý nghĩa giúp tăng cường sự chú ý và thúc đẩy năng suất của họ.
Quan trọng
Bạn có thể quản lý nội dung elearning của mình ở phần đầu phía trước hoặc phía sau **. Phần trước cho phép bạn tạo nội dung nhanh chóng từ trang web của mình, trong khi phần cuối ** cung cấp các tùy chọn bổ sung và cho phép cộng tác. Tài liệu này tập trung vào việc sử dụng phần cuối để tạo nội dung của bạn.
Xem thêm
Khóa học
By going to , you can get an overview of all your courses.
Nhấp vào một tiêu đề khóa học để chỉnh sửa khóa học của bạn ở mặt sau. Nhấp vào Xem khóa học để truy cập khóa học của bạn ở mặt trước.
Sáng tạo khóa học
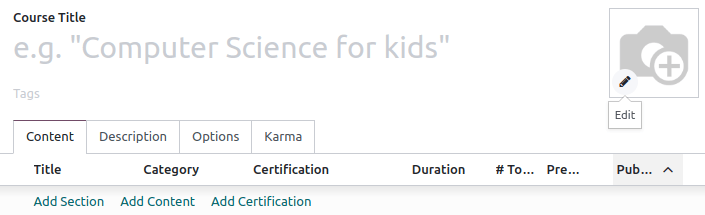
Click New to create a new course. When the page pops up, you can add your Course Title and one or more Tags to describe your course. You can add an image to illustrate your course by hovering your mouse on the camera placeholder image and clicking on the edit icon. Four tabs allow you to edit your course further: Content, Description, Options, and Karma.
Tab nội dung
This tab allows you to manage your course content. Click on Add Section to divide your course into different sections. Click on Add Content to create content. Click on Add Certification to assess the level of understanding of your attendees, certify their skills, and motivate them. Certification is part of the Surveys app.
Tab Mô tả
Bạn có thể thêm một mô tả ngắn hoặc thông tin liên quan đến khóa học của bạn trong tab Mô tả. Nó xuất hiện dưới tiêu đề khóa học của bạn trên trang web của bạn.

Tab Tùy chọn
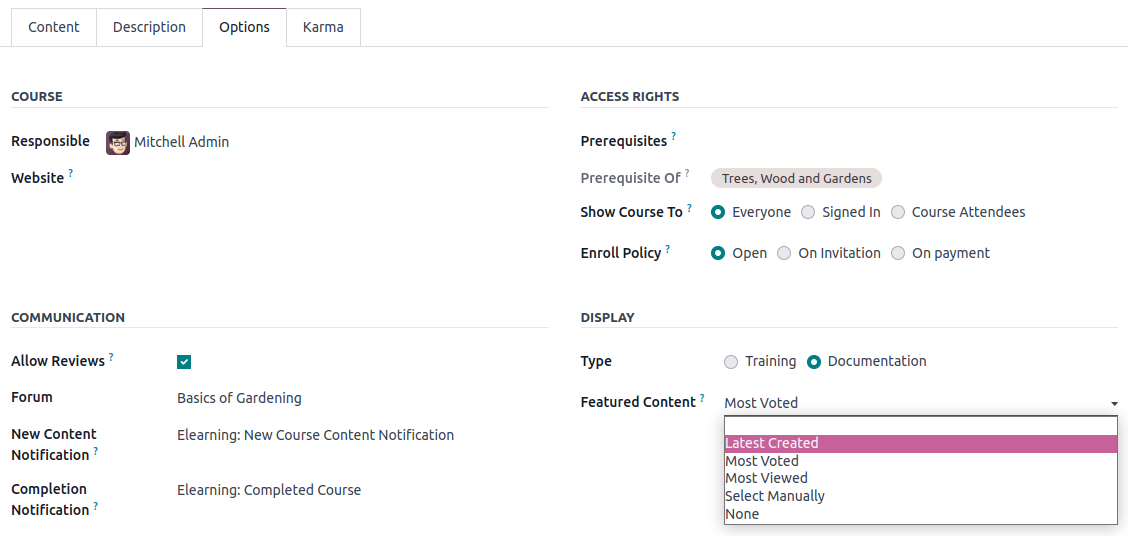
In the Options tab, different configurations are available: Course, Communication, Access rights, and Display.
Khóa học
Gán A người dùng có trách nhiệm cho khóa học của bạn. Nếu bạn có nhiều trang web, hãy sử dụng trường :guilabel:`trang web để chỉ hiển thị khóa học trên trang web đã chọn.
Thông tin trao đổi
Allow Reviews: tick the box to allow attendees to like and comment on your content and to submit reviews on your course;
Forum: add a dedicated forum to your course (only shown if the Forum feature is enabled in the app's settings);
New Content Notification: select an email template sent to your attendees when you upload new content. Click on the internal link button (➜) to have access to the email template editor;
Completion Notification: select an email template sent to your attendees once they reach the end of your course. Click on the internal link button (➜) to access the email template editor;
Quyền truy cập
Show course to: define who can access your course and their content between Everyone, Signed In or Course Attendees;
Enroll Policy: define how people enroll in your course. Select:
Open: if you want your course to be available to anyone;
On Invitation: if only people who received an invitation can enroll to your course. If selected, fill in the Enroll Message explaining the course's enrollment process. This message appears on your website under the course title;
On Payment: if only people who bought your course can attend it. The Paid Courses feature must be enabled to get this option. If you select On Payment, you must add a Product for your course.
Ghi chú
Chỉ các sản phẩm được thiết lập với khóa học là của họ :guilabel:`loại sản phẩm 'được hiển thị.
Hiển thị
Training: the course content appears as a training program, and the courses must be taken in the proposed order.
Documentation: the content is available in any order. If you choose this option, you can choose which page should be promoted on the course homepage by using the Featured Content field.
Tab Karma
Tab này là về Gamification để làm cho Elearning thú vị và tương tác.
Trong phần Phần thưởng ', chọn số lượng Karma bạn muốn cấp cho học sinh của mình khi họ :guilabel:`Đánh giá hoặc Finish là một khóa học.
Trong phần Quyền truy cập ', xác định Karma cần thiết để :guilabel:`Thêm đánh giá, Thêm bình luận, hoặc :guilabel:`Bình chọn' trên khóa học.
Ghi chú
Từ khóa học của bạn, nhấp vào nút :guilabel:`` Người tham dự `để tiếp cận những người được ghi danh vào khóa học.
Nhóm khóa học
Sử dụng các nhóm khóa học ** ** để thông báo cho người dùng và cho phép họ lọc các khóa học từ bảng điều khiển :guilabel:`Tất cả các khóa học.
You can manage them by going to . Click New to create a new course group. Add the Course Group Name, tick the Menu Entry box to allow users to search by course group on the website, and add tags in the Tag Name column. For each tag, you can select a corresponding color.
Cài đặt
You can enable different features to customize your courses by going to :
** Chứng nhận **: Để đánh giá kiến thức của người tham dự và chứng nhận các kỹ năng của họ;
** Các khóa học trả phí **: Để bán quyền truy cập vào các khóa học của bạn trên trang web của bạn và theo dõi doanh thu;
** Gửi thư **: Để cập nhật tất cả những người tham dự của bạn cùng một lúc thông qua các thư hàng loạt;
** Diễn đàn **: để tạo ra một cộng đồng và để người tham dự trả lời các câu hỏi của nhau.
Nội dung
Manage your content by going to . Click New to create content. Add your Content Title, and if you want Tags, then fill in the related information among the different tabs.
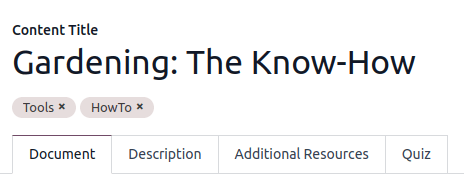
Tab tài liệu
Course: select the course your content belongs to;
Content Type: select the type of your content;
Responsible: add a responsible person for your content;
Duration: indicate the time required to complete the course;
Allow Download: allow users to download the content of the slide. This option is only visible when the content is a document;
Allow Preview: the course is accessible by anyone.
# of Public Views: displays the number of views from non-enrolled participants;
# Total Views: displays the total number of views (non-enrolled and enrolled participants).
Tab Mô tả
You can add a description of your content that appears front end in the About section of your course content.
Additional Resources tab
Click Add a line to add a link or a file that supports your participants' learning. It appears in the course content on your website.
Quiz tab
From this tab you can create a quiz to assess your students at the end of the course.
The Points Rewards section lets you give a specific number of karma points depending on how many tries they need to correctly answer the question. Then, create your questions and the possible answers by clicking on Add a line. A new window pops up, add the question by filling in the Question Name and add multiple answers by clicking on Add a line. Tick the Is correct answer to mark one or more answers as correct. You can also fill in the Comment field to display additional information when the answer is chosen by the participant.
Publish your content
Everything created on the back end needs to be published from the front end. Unpublished content is always visible from your website but still needs to be published to be available to your audience.
You must be on your website's front end to publish your content. To do so, click on the Go To Website smart button, and tick the Publish option available in the right-hand corner.